Reflection
The seventh project we completed in STEM was a programming project. This project was a little bit different then the previous ones for many reasons. My partner (Ashley Smith) and I created a code that would make our Arduino tell jokes. First off, we worked in partners instead of groups. This was both good and bad. It was nice to work with one person because both our ideas could easily be integrated into our final product. On the other hand, there was only two of us so it was a little bit more challenging in terms of the actual content of the project. Next, this project was one of the hardest we have done all year. At first we worked with electrical connections and breadboards. Then, we used Arduino boards to create a code for a circuit we designed. This process involved a lot of precise steps and one misplaced wire would result in the whole experiment not working. This became extremely frustrating and it was very hard to determine which wire was misplaced. It was also very hard for me to stay calm during this project. Things like this frustrate me easily and I need to work on my patience. Another thing I could improve on is being more optimistic. I was very negative during this project, especially when our code wouldn't work. One thing Ashley and I did well was communicating our ideas. After receiving instructions for our project, we instantly brainstormed many ideas and quickly agreed on our final project. Another thing we did well was not giving up. After our initial idea failed, we never gave up (no matter how close we got to it) and we came up with a new idea and executed it to our best ability. Overall, this project was very challenging and our final project worked well.
The seventh project we completed in STEM was a programming project. This project was a little bit different then the previous ones for many reasons. My partner (Ashley Smith) and I created a code that would make our Arduino tell jokes. First off, we worked in partners instead of groups. This was both good and bad. It was nice to work with one person because both our ideas could easily be integrated into our final product. On the other hand, there was only two of us so it was a little bit more challenging in terms of the actual content of the project. Next, this project was one of the hardest we have done all year. At first we worked with electrical connections and breadboards. Then, we used Arduino boards to create a code for a circuit we designed. This process involved a lot of precise steps and one misplaced wire would result in the whole experiment not working. This became extremely frustrating and it was very hard to determine which wire was misplaced. It was also very hard for me to stay calm during this project. Things like this frustrate me easily and I need to work on my patience. Another thing I could improve on is being more optimistic. I was very negative during this project, especially when our code wouldn't work. One thing Ashley and I did well was communicating our ideas. After receiving instructions for our project, we instantly brainstormed many ideas and quickly agreed on our final project. Another thing we did well was not giving up. After our initial idea failed, we never gave up (no matter how close we got to it) and we came up with a new idea and executed it to our best ability. Overall, this project was very challenging and our final project worked well.
Content
Ohms Law - states that the current through a conductor between two points is directly proportional to the current across the two points
Circuit - requires three things: must be a loop, made out of conductive material, and connect the positive and negative sides of a power source together
Resistance (Ω) - measure of how much current is slowed/ how many obstacles(for the current) are present
Current (I) - "flow" of electricity through a circuit
Voltage (V) - potential energy drop across a component of a circuit
Power (P) - rate at which electrical energy is transferred by a circuit
Our Project
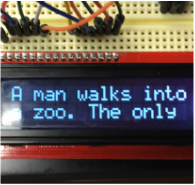
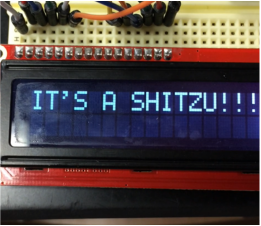
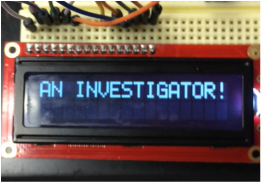
This project was separated into three sections. First, we looked at a packet with many small experiments to learn about the basics of electricity, voltage, and current. Then, we used breadboards to create circuits based off of diagrams. Then we started working with Arduino boards. The goal of this project was to program an Arduino board to preform a task of our choice. Ashley and I decided to program our board like the game show "Who Wants to Be a Millionaire?" First, we set up the LCD (which is a display screen). Then we connected buttons to that. Then we started working on the code. We used if/then statements to ask the questions and to program the buttons. The only problem was that the buttons were not responding to our code. This means that whenever the LCD displayed a question, it would automatically show the answer. We tried to solve this problem but it came to a point where we didn't know whether the buttons were set up wrong or if our code was the problem. At the last minute, we changed our idea and programmed our Arduino to tell bad jokes.
This project was separated into three sections. First, we looked at a packet with many small experiments to learn about the basics of electricity, voltage, and current. Then, we used breadboards to create circuits based off of diagrams. Then we started working with Arduino boards. The goal of this project was to program an Arduino board to preform a task of our choice. Ashley and I decided to program our board like the game show "Who Wants to Be a Millionaire?" First, we set up the LCD (which is a display screen). Then we connected buttons to that. Then we started working on the code. We used if/then statements to ask the questions and to program the buttons. The only problem was that the buttons were not responding to our code. This means that whenever the LCD displayed a question, it would automatically show the answer. We tried to solve this problem but it came to a point where we didn't know whether the buttons were set up wrong or if our code was the problem. At the last minute, we changed our idea and programmed our Arduino to tell bad jokes.
Circuit Diagram
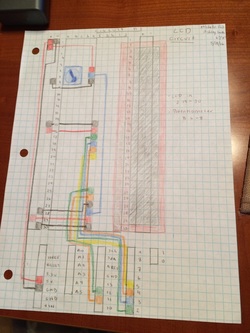
Our next step was to draw a circuit diagram showing all the electrical connections of our Arduino Board.
Here is a picture of ours:
Our next step was to draw a circuit diagram showing all the electrical connections of our Arduino Board.
Here is a picture of ours:
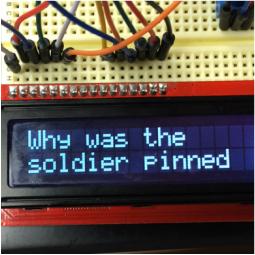
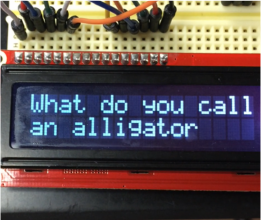
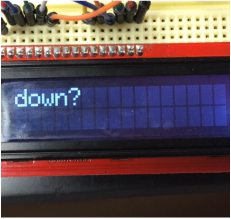
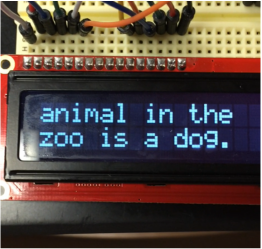
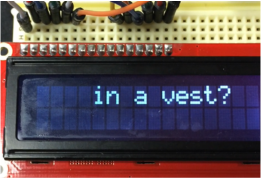
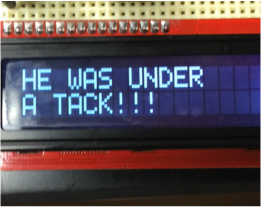
Here are some pictures of our final product:
|
|
|